





Session: AO.110 
 Age: 12-Adlt |
 Intensity: Medium |
 Time: 30 mins |
 Positions: 2,3,4,5,6 |
 Players: 10 |
 Area: 35x35 yrds |
Exercise Objectives
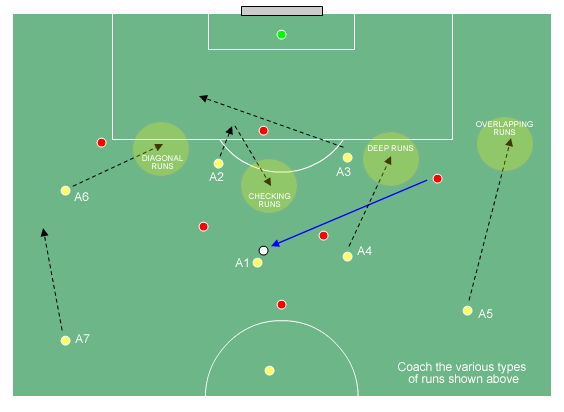
- Learn how to recognize the right moment to overlap.
- Learn how to exploit space by using overlapping runs).
- Learn how to make an effective run to create space/cross/shoot.
Organisation

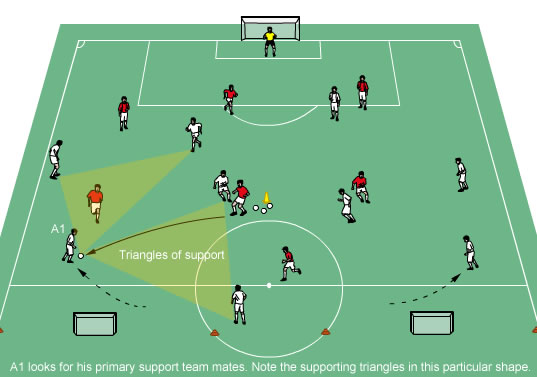
Diagram 1. Set-Up Arrangement
Set-Up
- 2/3 Field (25mins).
- 16 (15+Gk)
- Mark out 2/3 of a full size pitch as on diagram. Prepare min. 4 spare balls. The teams play in specific
- Formations:
- Attacking team:
- 8 players (white)
- 1-4-3 formation
Instructions
- Starting position of player no. 6 is between two blue cones (can be varied). Game starts when the ball is played in by player no. 6. Two teams compete and attempt to score.
- After losing possession team defends two small goals and tries to regain the ball as soon as possible.
- Defending team:
- 7 players (red) + goalkeeper (yellow)
- 1-4-3 formation
- Defend full sized goal
- After gaining possession team scores by scoring in the two small goals as soon as possible.
Scoring
- The attacking team scores in the full sized goal. After gaining possession defending team scores by scoring in the two small goals as soon as possible.
Coaching Points
- Which visual cues (where should you look) to recognize where is the ball, teammates and opponents?
- Where is the most important space for you to run into?
- When will the ball transfer to your side?
- When the support for the winger in possession is needed?
- What communication commands may be useful for you?
- How should you run into space?
- How can you let your teammates know that you want the ball?
- How would your team benefit if you make a run but not receive the ball?
- What are the possible end products? Which can be the most productive?
- Recognize where is the ball, teammates and opponents.
- Look for the space in front of you to run into.
- Anticipate when the ball will come to your side (recognize switching play) / when the support in front of the ball for the winger in possession is needed.
- Track winger movements – recognize when he will create space for the full-back to run into / use your own initiative and create space.
- Communicate with wingers (7&11) and other players “go away” “play” “go inside” etc.
- Make a quick run – speed and courage.
- Be confident about your decision.
- Ask for the ball - loud and clear.
- Body position to receive into space.
- Look for the end product (cross/pass/shoot).

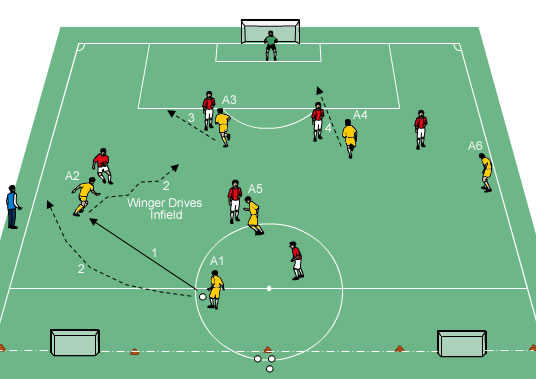
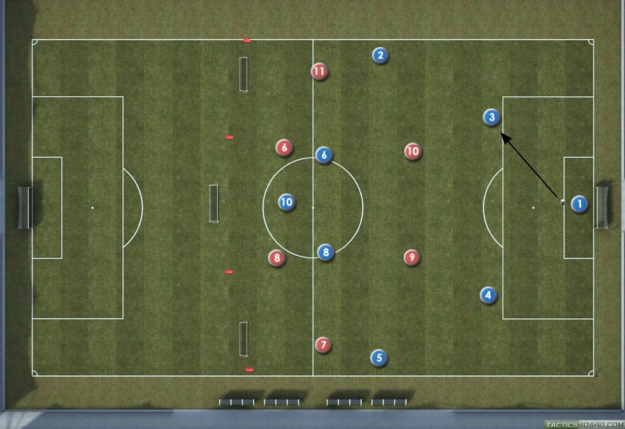
Diagram 2. Receiving into Free Space. Player number 11 makes a run across the pitch to create space in wide areas. Player number 10 recognizes free space, tracks player number 5 movement and plays quick pass into space. Player number 5 communicates with players number 11 and 10 to recognize correct timing and pace of the run.

Diagram 3. Dribble to Overlap. Player number 8 tracks player number 5’s movement and plays a quick pass into his feet at the right moment. Player number 5 dribbles forward and forces player number 11 to create space for him through inside movement.

Diagram 4. Support Winger in Possession. Player number 5 recognizes the right moment (space behind winger to run into) and makes an overlap run to support winger in possession. Communication between players number 5 and 11 must be clear and precise.
 Alexander Trukan
 Darren Pitfield